
Last updated September 20, 2026
Full 25-point door and opener safety check with every visit - springs, cables, rollers, tracks, and your LiftMaster or Chamberlain opener included
You get a price before we start. It does not change when the truck arrives.
 Before
 After
After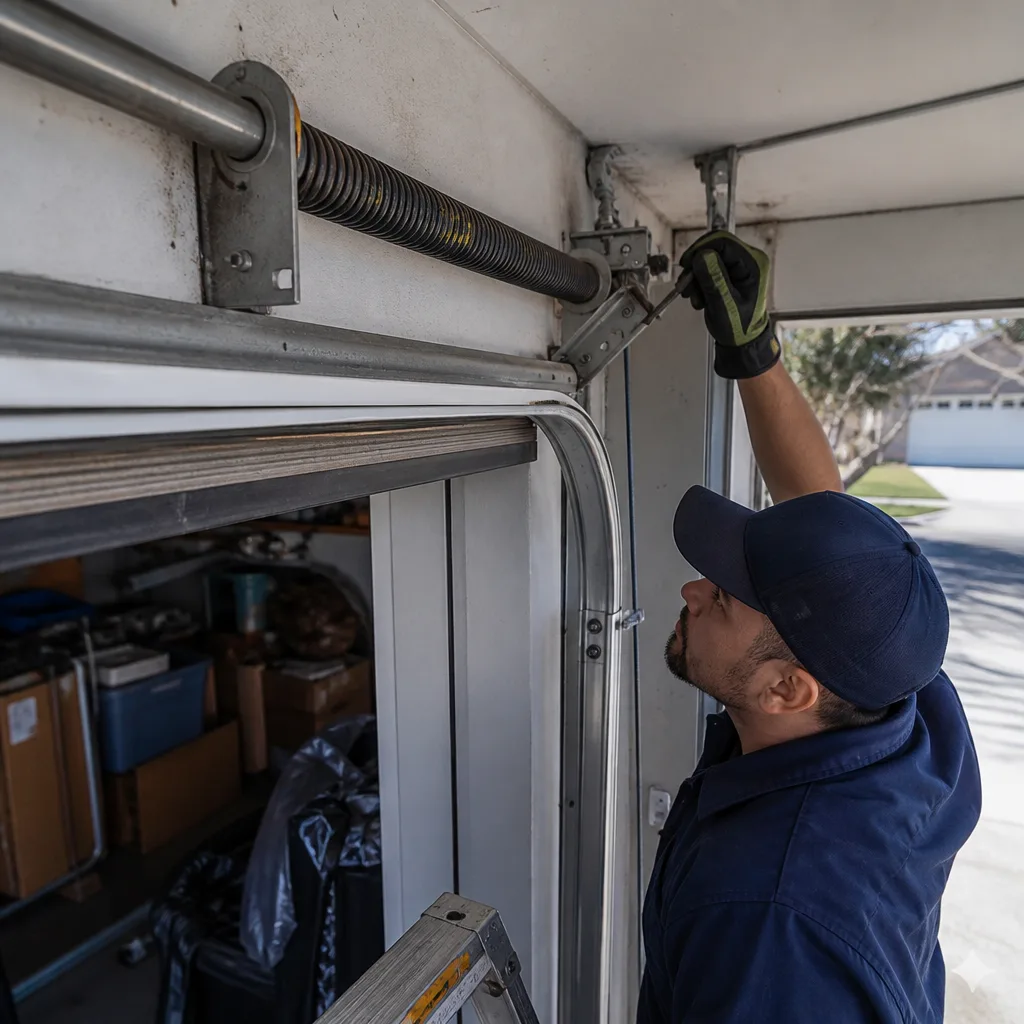 Before
 After
After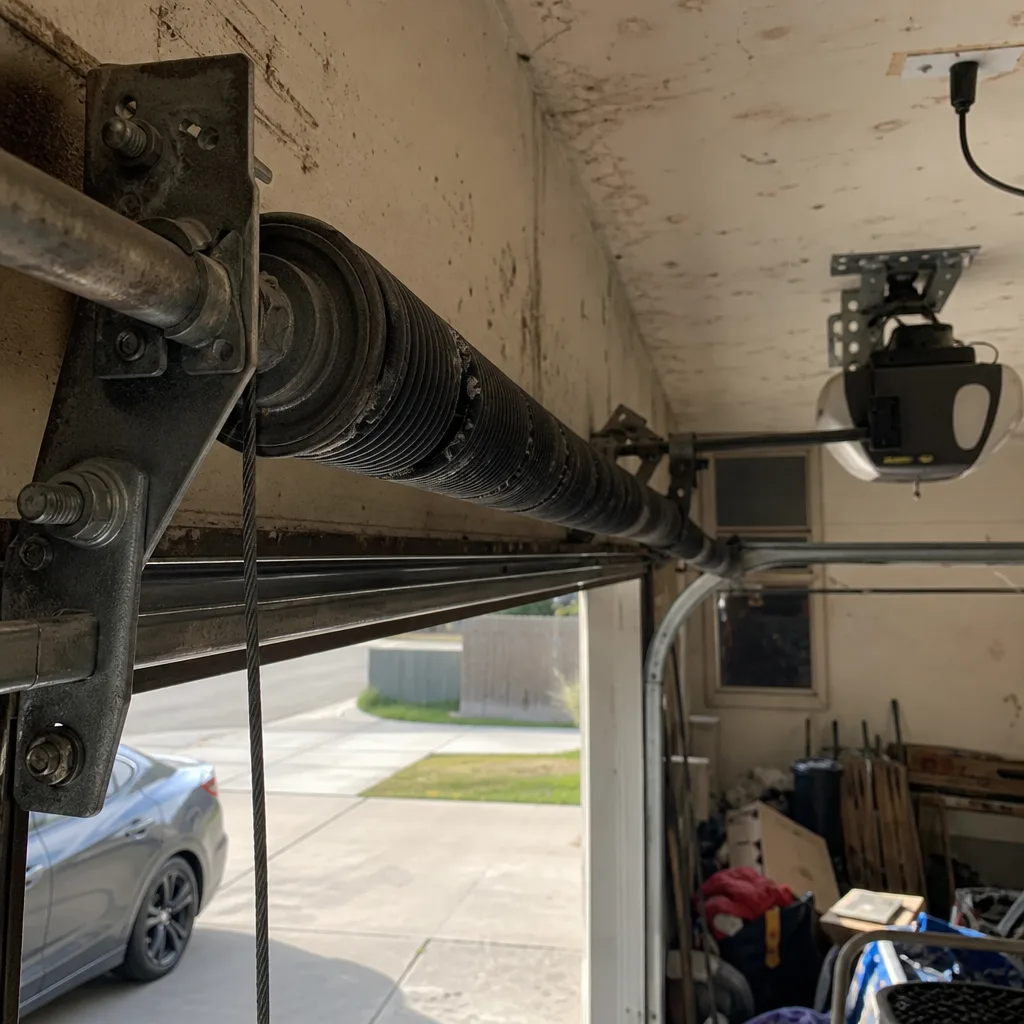 Before
 After
AfterGarage Door Repair Maintenance Checklist for Fontana Homeowners
Lubricating a garage door that’s out of balance is the single most common reason a “just-maintained” door fails within 90 days. It happens all over Fontana, from the track homes north of the 210 to the newer developments off Beech Avenue, and it’s almost always avoidable. This guide gives you the correct inspection sequence, one that treats maintenance as a diagnostic process rather than a spray-and-check routine. You’ll learn what to check first, what pass/fail thresholds actually mean, which lubricants belong where, and how to keep a paper record that matters if a technician ever has to look at your door.
Quick Answer
A garage door maintenance checklist for Fontana homeowners should follow this sequence: visual inspection, balance test, force limit test, hardware torque check, and lubrication last. The balance test is the gatekeeper: if the door doesn’t hold within two inches of center when released at knee height, stop and call a repair professional before doing anything else. In Fontana’s inland heat, expect to replace rubber weather seals and lubricate moving parts more often than manufacturer schedules suggest, typically every 6 months for lubrication and annually for seal inspection.
Table of Contents
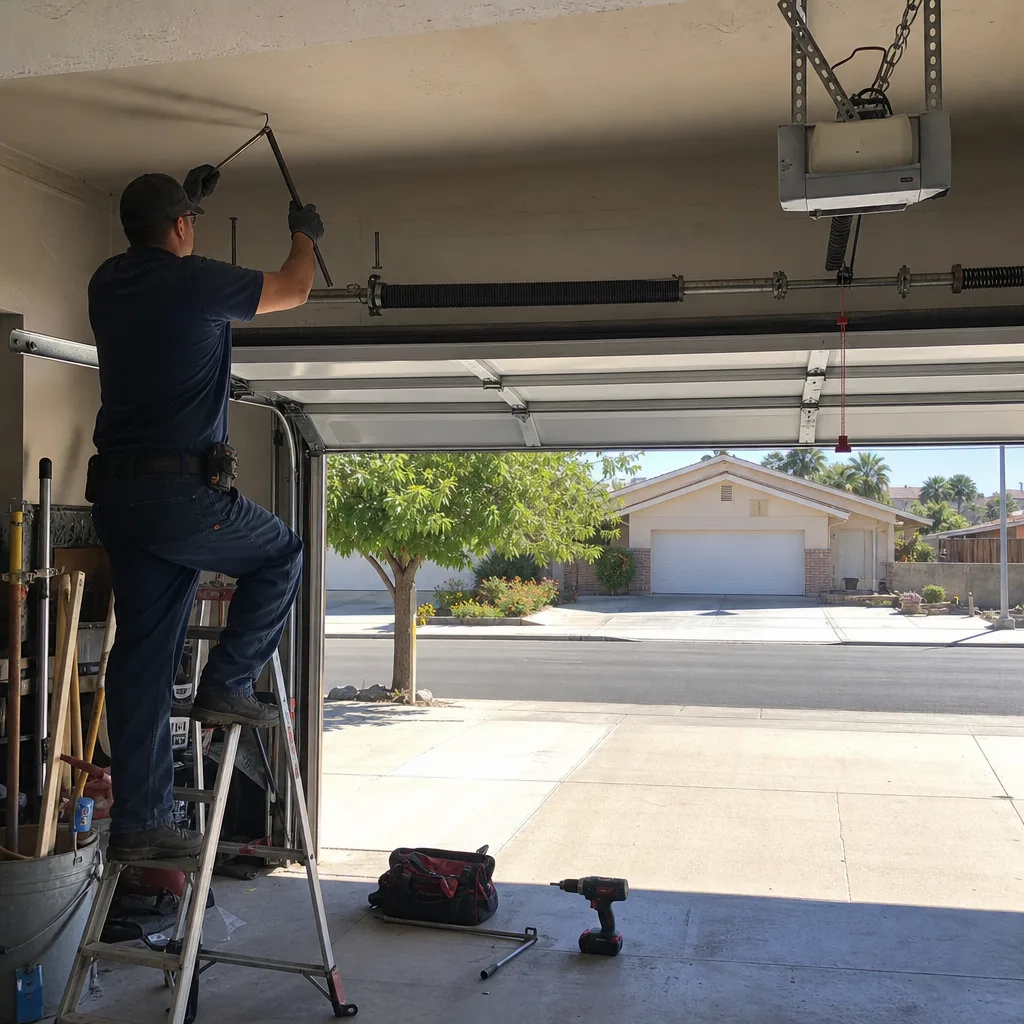
- Why Sequence Matters More Than the Checklist Itself
- Step 1: Visual Inspection – Reading the Door Before Touching It
- Step 2: The Balance Test – The Gatekeeper Step
- Step 3: Force Limit Test – What the Opener Tells You
- Step 4: Hardware Torque Check – Bolts, Brackets, and Hinges
- Step 5: Lubrication – The Right Product on the Right Part
- Fontana-Specific Interval Adjustments
- Documenting Your Maintenance – The Paper Trail
- Common Mistakes to Avoid
- When to Call a Professional
- Frequently Asked Questions
- The Bottom Line
BeforeAfterWhy Sequence Matters More Than the Checklist Itself
Most published garage door checklists read like a grocery list: lubricate the rollers, tighten the bolts, check the balance, inspect the cables. That order is backwards. A door that’s out of balance will often pass a visual inspection and fail a balance test. But if you lubricate before testing balance, you’ve changed the friction characteristics of the system, which means the balance test gives you a false reading. You think the door is fine because it moves smoothly, when in reality the torsion spring has lost tension and the opener motor is working harder than it should.
The correct sequence is visual inspection first, then balance test, then force limit test, then hardware torque check, and lubrication dead last. This order ensures each test measures the door’s true mechanical condition rather than the effect of the lubricant you just applied. We’ve walked into Fontana garages where a homeowner lubricated a door with a broken torsion spring and then wondered why the door still struggled a month later. The lubricant masked the symptom; it didn’t fix the spring. In our experience, this sequencing error accounts for a meaningful share of the “I just maintained it and it broke anyway” calls we take across Fontana.
Step 1: Visual Inspection – Reading the Door Before Touching It
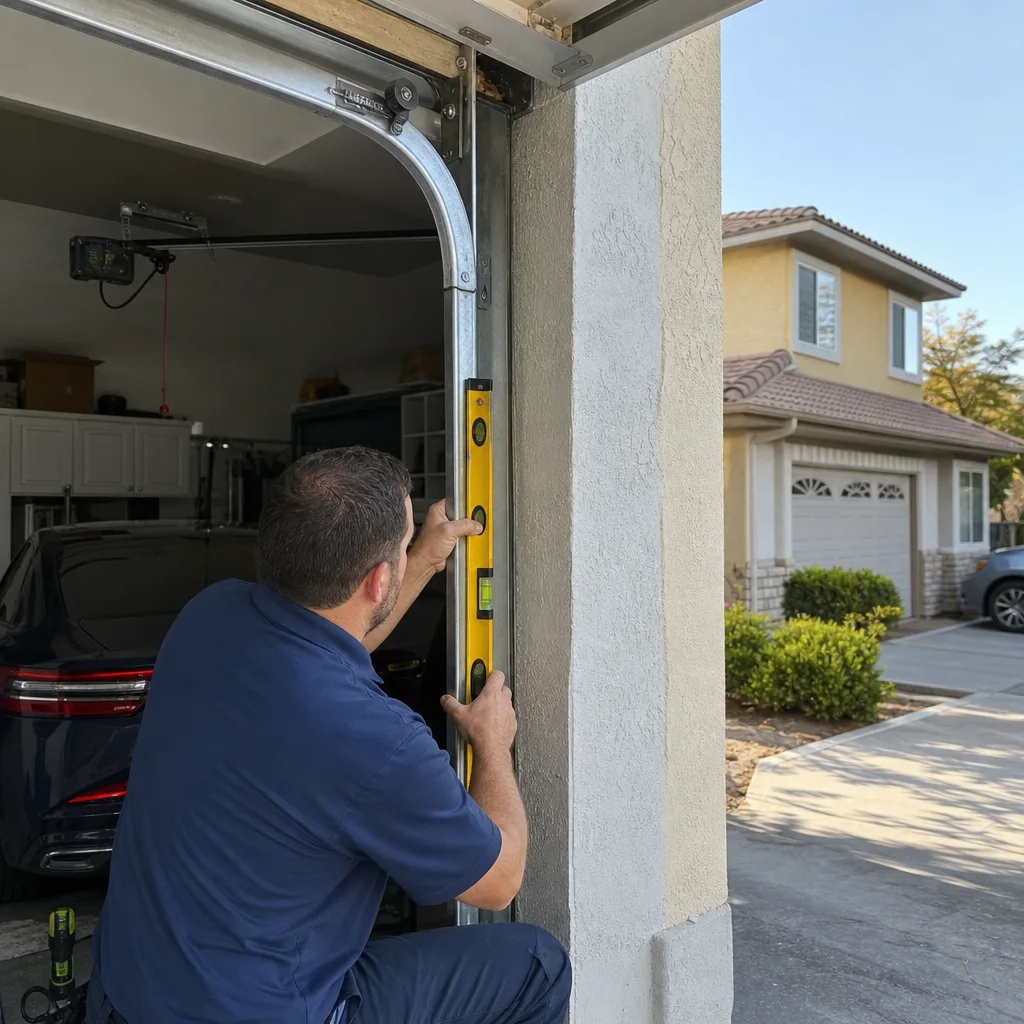
The visual check is where you catch the problems that haven’t failed yet. Walk to the center of the garage, close the door, and look at it straight on. You’re checking for symmetry, alignment, and material fatigue. A properly functioning door sits evenly in its tracks; gaps between the door and the frame should be consistent on both sides. Lean down and sight along the bottom edge. If the door doesn’t sit flat, something is wrong with a cable, a spring, or the track alignment.
Here’s what to look for, in order:
- Cables: Look at the lift cables on both sides of the door. They should be taut, not frayed, and wound evenly on the drums. A frayed cable is a replacement item, not a repair item. If one cable is slack, the door is not balanced and you should stop the inspection and call a professional.
- Rollers: Check each roller where it enters the track. Nylon rollers with visible cracks or flat spots need replacement. Steel rollers with rust or pitting need replacement. A roller with a gap between the wheel and the track means the track has spread and the door can bind or jump.
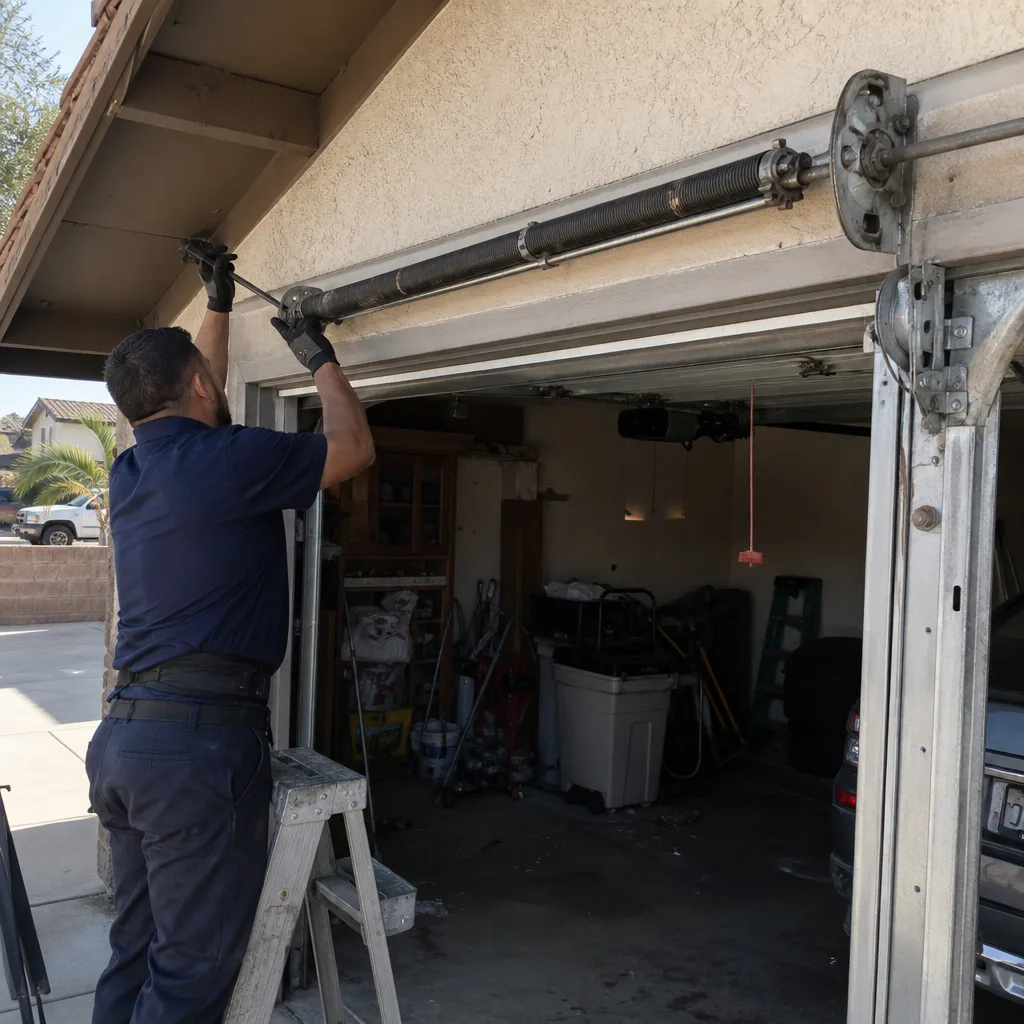
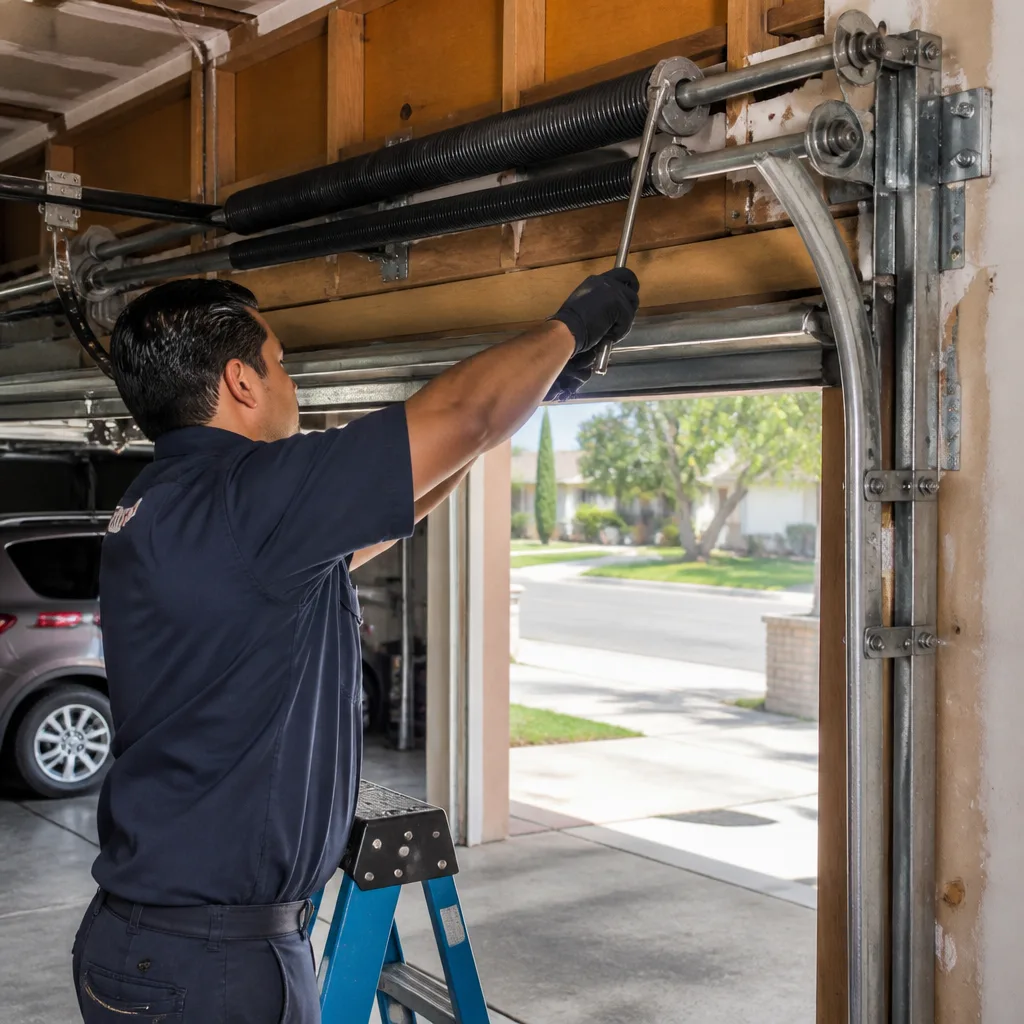
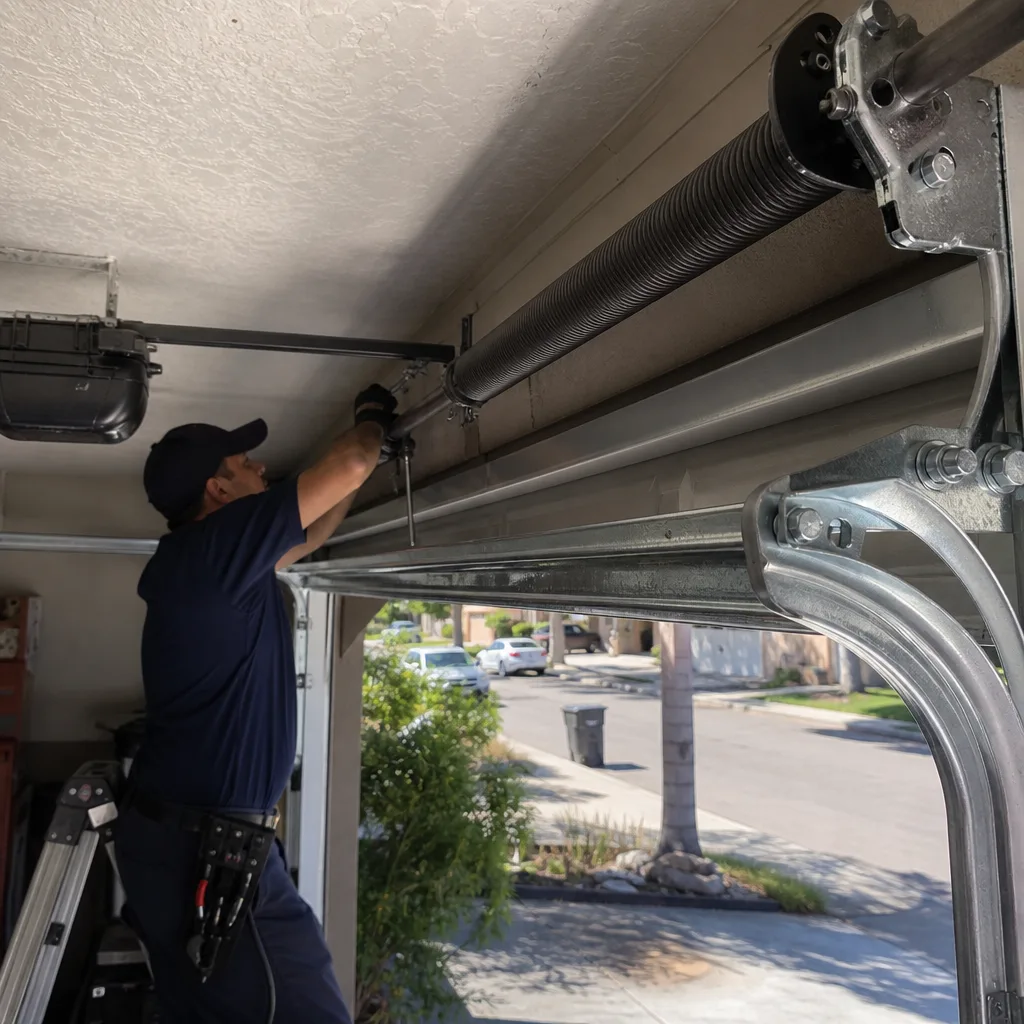
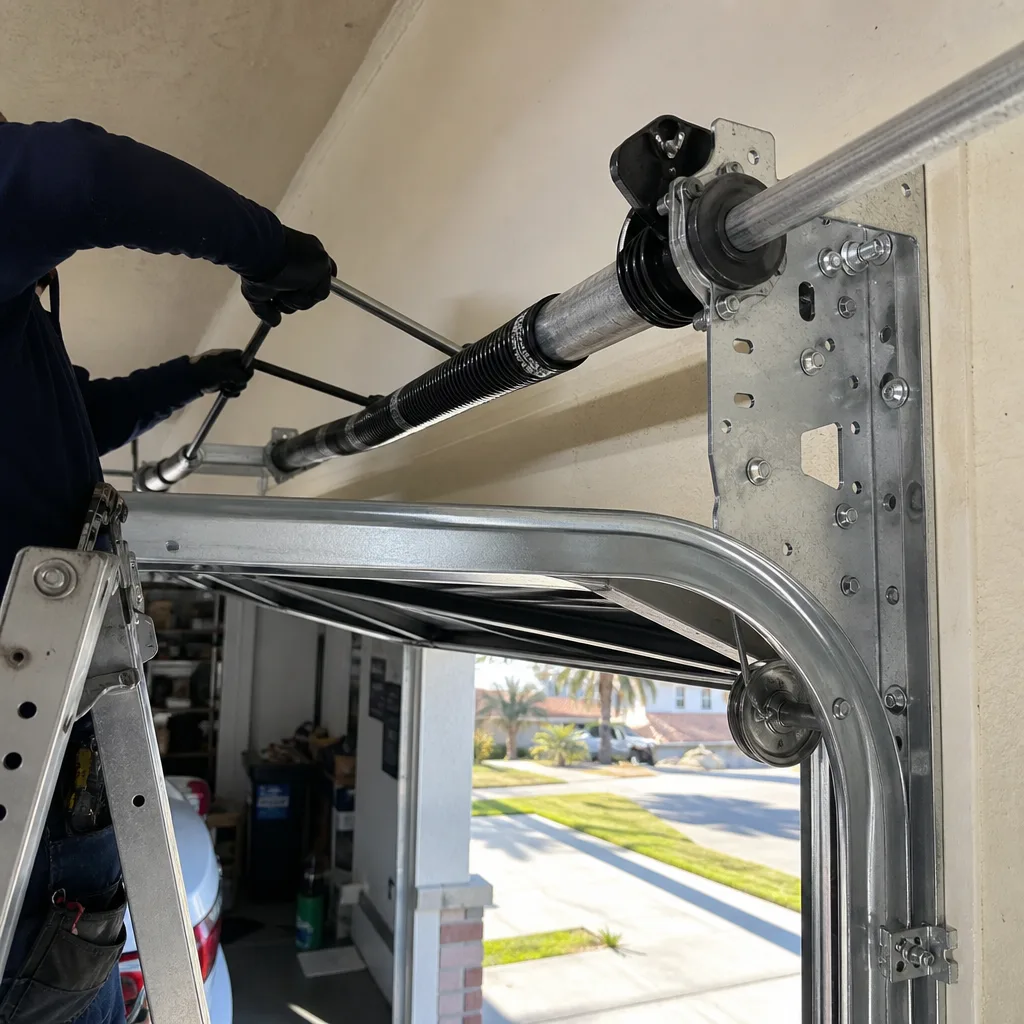
- Springs: Visually inspect the torsion spring (the one mounted horizontally above the door) or the extension springs (the ones running parallel to the tracks on both sides). Look for gaps in the coil, rust, or a clean break. A torsion spring with a visible break is not a maintenance item. Do not touch it. Call a professional immediately.
- Bottom seal: Check the rubber weather seal at the bottom of the door. In Fontana’s heat, this seal will crack and harden faster than the manufacturer’s replacement schedule assumes. If light passes through when the door is closed, it’s time to replace it.
- Track alignment: Look at the vertical tracks on both sides. They should be plumb and parallel. Look for loose mounting brackets, rust, or gaps where the track has pulled away from the wall.
A note on safety: the torsion spring is under high tension. Even a visual inspection should be done from a distance. Never put your hands near the spring, the cables, or the bottom brackets while the door is in any position other than fully open or fully closed. If you see anything that looks like a broken spring, frayed cable, or bent track, the maintenance checklist is over. Call a professional. Garage Door Repair in Fontana is not something to improvise.
Step 2: The Balance Test – The Gatekeeper Step
The balance test measures whether the torsion spring system is doing its job. The spring exists to offset the weight of the door, which on a double-wide steel door in Fontana can be 150 to 200 pounds. When the spring is correctly wound, the door should feel nearly weightless. When it’s not, the opener motor absorbs the difference, and that’s how openers burn out years early.
Here’s how to run the test correctly:
- Close the door completely.
- Pull the red emergency release handle. This disconnects the door from the opener carriage.
- Manually lift the door to knee height, roughly 3 feet off the ground.
- Release the door slowly and completely.
Pass/fail threshold: The door should hold its position within two inches of where you released it. If it drifts up, the spring is over-wound. If it drifts down, the spring has lost tension and is under-wound or worn. If it crashes down, the spring is broken or severely compromised. Any result outside two inches of center is a fail, and you should stop the checklist right there.
In Fontana, we see under-wound springs more often than over-wound ones. The heat cycling in inland Southern California takes a toll on spring steel, and a spring that’s five or six years old may have lost enough tension to fail this test even if it hasn’t snapped. That’s the situation where lubrication makes things worse, because the door feels smooth but the opener is still carrying extra load every cycle.
Step 3: Force Limit Test – What the Opener Tells You
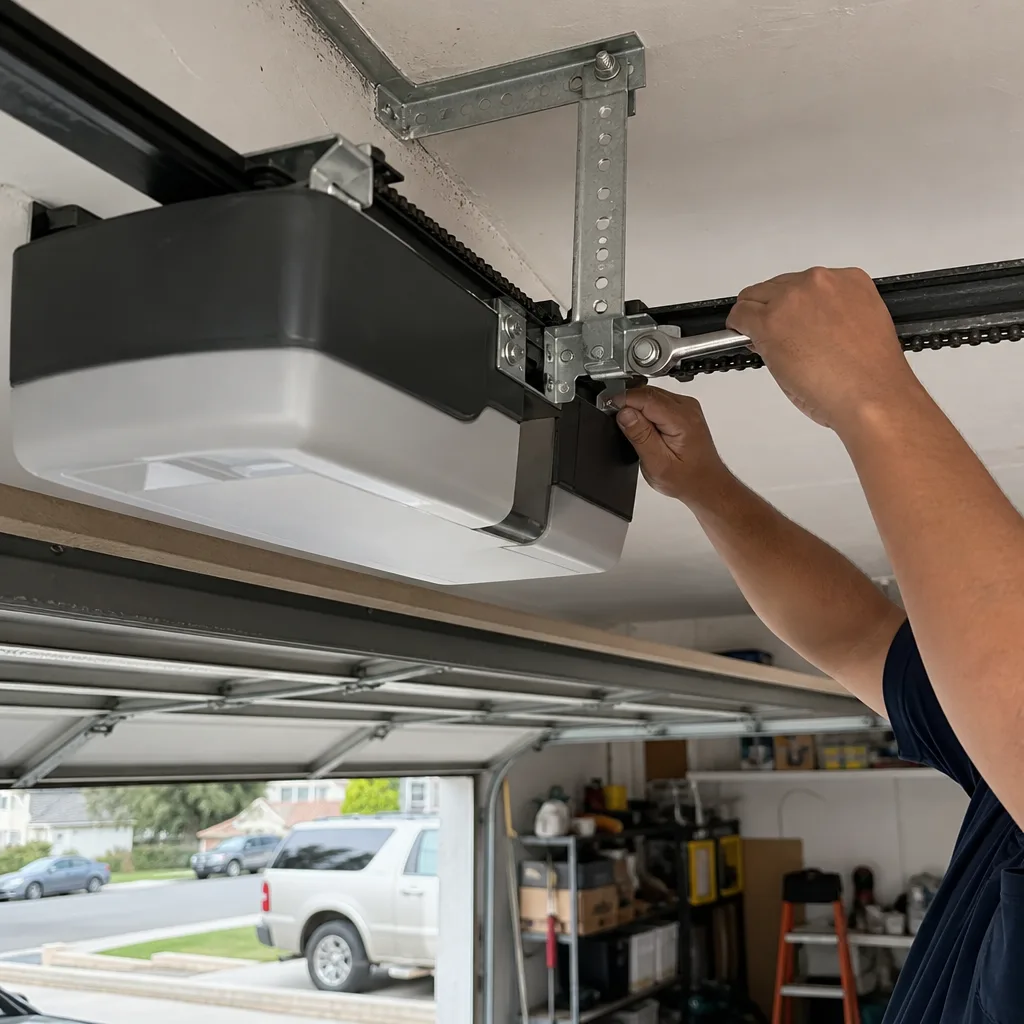
The force limit setting on your opener controls how much resistance the motor will push against before reversing. If the balance test fails, the opener compensates by working harder, which means the force limit has to be set higher to move the door through each cycle. When the force limit is too high, the door can crush an object or a person in its path because the opener doesn’t sense the resistance as abnormal. In Fontana homes with kids and pets, this isn’t an abstract risk.
The force limit test is simple: with the door closed, place a 2×4 flat on the ground under the door’s path. Close the door and watch what happens. The door should hit the 2×4, sense the resistance, and reverse within one to two seconds. If the door keeps pushing, or if it reverses only after significant grinding, the force limit is set too high. Most openers, including LiftMaster and Chamberlain units, have an adjustment dial on the motor housing or a digital setting in the control panel. The manufacturer’s manual will show you the exact procedure for your model.
The important part is this: the force limit test is diagnostic, not a tuning exercise. If the door fails the force limit test, don’t just crank the setting down and call it done. A door that needs a high force setting to move is telling you something about its mechanical condition. The right repair is to fix the underlying cause, which is usually a balance problem, a binding roller, or a worn track. Lowering the force limit without fixing the cause will cause the opener to reverse mid-cycle, which is safer but also means the door won’t close reliably.
Chamberlain and LiftMaster openers manufactured after 2016 also have a diagnostic feature that logs force readings. If you can pull up the diagnostic code, a “force profile” error on a newer unit is often the first sign that the door balance is drifting. We use those readings during service calls in Fontana to show the homeowner exactly what the opener has been experiencing.
Step 4: Hardware Torque Check – Bolts, Brackets, and Hinges
Garage doors move hundreds of times a month, and every cycle sends vibration through the hardware. Over time, bolts loosen, brackets shift, and hinges wear. The hardware check is where you catch those problems before they become a bent track or a dropped panel.
Work through this list with a socket set and a torque wrench if you have one. The door should be closed for this step.
- Hinges: There are hinges at each panel joint, typically two or three per joint depending on door width. Each hinge has four bolts. Check every bolt on every hinge. If any hinge bolt is loose, tighten it. If a hinge is cracked or the pivot hole has elongated, replace the hinge. Hinges are inexpensive and available for most door models.
- Track brackets: The vertical and horizontal tracks are held to the wall and ceiling by L-brackets. Check every bracket. If a bracket has shifted, the track is no longer parallel, and that’s a binding risk. Loosen the bracket, reposition the track so it’s plumb and parallel, and retighten.
- Jamb brackets: The brackets that hold the flag bracket to the wall, where the track meets the ceiling, carry the most load. Check them for looseness and for any wall cracking around the fasteners. In Fontana’s stucco construction, a loose jamb bracket can crack the stucco around it.
- Opener rail: Check the rail that the trolley carriage rides on. It should be straight and the carriage should move smoothly through its full travel when the door is disconnected. If the carriage is noisy or binding, the rail may need alignment or the carriage may need replacement.
- Bottom brackets: These attach the lift cables to the bottom corners of the door. They’re under constant tension. Check that the bolts are tight and that the bracket isn’t bending or cracking. If a bottom bracket shows any sign of giving way, stop and call a professional. This is one of the most dangerous failure points on a garage door.
Every bolt you check should have some specified torque, but the practical standard is this: snug plus a quarter turn. If a bolt keeps coming loose, that’s a recurring problem, not a maintenance item, and the underlying cause (usually a misaligned track or a worn hinge) should be diagnosed. If you’re not comfortable doing this check yourself, a Garage Door Opener Repair & Installation in Fontana technician will include it as part of a standard tune-up.
Step 5: Lubrication – The Right Product on the Right Part
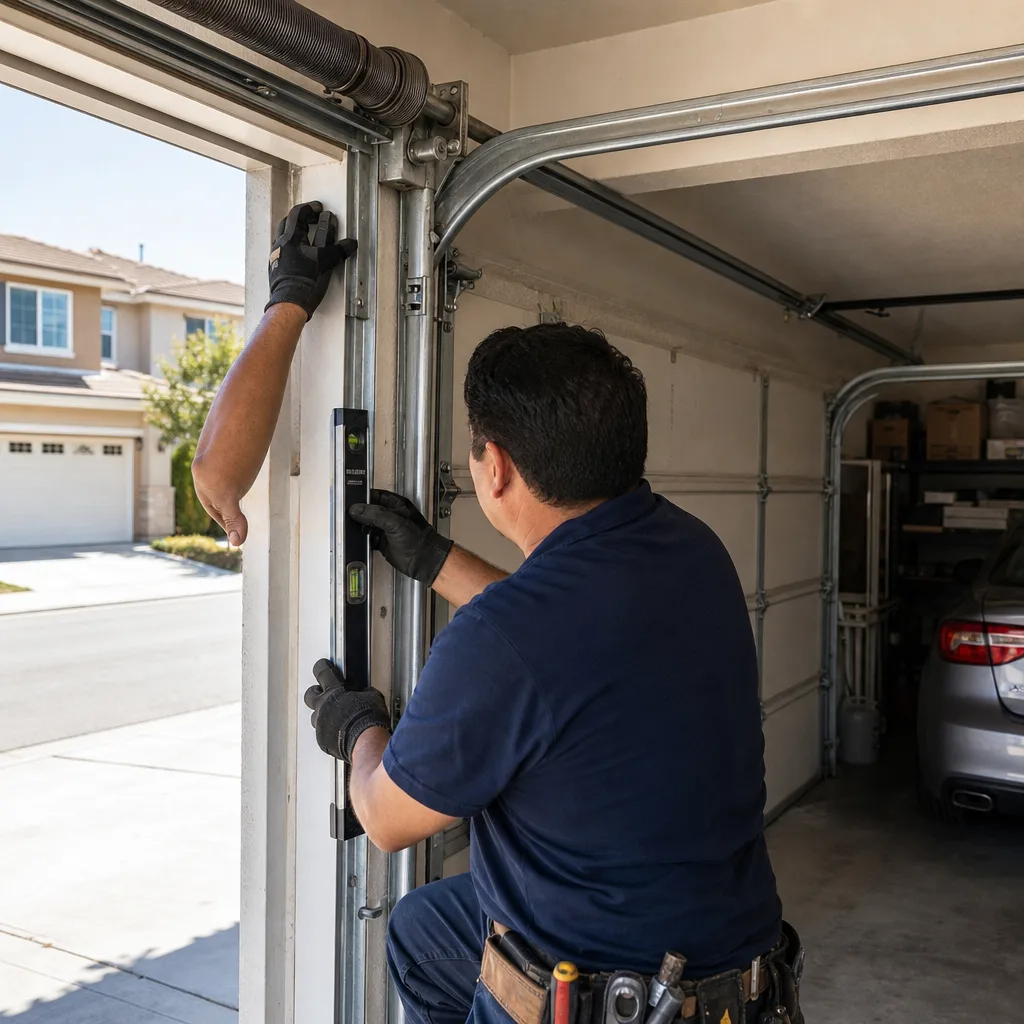
Lubrication is the step most people get wrong, either in substance or in sequence. The short version: use a silicone-based spray lubricant on rollers, hinges, and the torsion spring. Use white lithium grease on the opener rail. Never use WD-40 on any part of a garage door except to clean rust off a surface before applying the correct lubricant. WD-40 is a solvent and water displacer; it will strip the existing lubricant and accelerate wear on rollers and hinges rather than preventing it.
Here’s the exact application map:
- Rollers: Spray silicone lubricant on the roller stem where it enters the hinge, and on the bearing surface if the roller has exposed bearings. Do not spray the track. A lubricated track attracts dust and grime, and the combination creates a paste that binds the roller. The track should stay dry.
- Hinges: Spray each hinge pivot point with silicone lubricant. Work the door up and down once after lubrication to distribute the product.
- Torsion spring: Spray silicone lubricant along the full length of the spring. The spring coils compress and expand with each cycle, and lubricant between the coils reduces friction and prevents rust. Do this with the door in the open position so the spring is under tension and the coils are slightly separated.
- Opener rail: Apply white lithium grease to the top surface of the rail where the trolley carriage rides. A thin, even coat is enough. Too much grease accumulates dirt and makes the carriage work harder.
- Lock and latch hardware: If your door has a manual lock, a small amount of silicone lubricant in the lock cylinder keeps it from sticking. Do not use graphite, which attracts moisture and can cause corrosion.
In Fontana’s dry heat, lubrication intervals should be tightened to every six months. The low humidity evaporates lighter lubricants faster than manufacturer specs assume. If you hear a metal-on-metal squeal when the door moves, you’re already past the service interval, and the rollers or hinges may have begun to wear. A squeal that persists after lubrication is a sign that a roller bearing has failed and the roller needs replacement.
Fontana-Specific Interval Adjustments
Manufacturer maintenance schedules are written for an average climate. Fontana is not an average climate. The inland Southern California environment gets hot, dry summers with temperatures routinely above 100 degrees, and UV exposure that breaks down rubber and plastic components faster than coastal or temperate climates. That means two adjustments to the standard schedule.
Bottom seal replacement: The rubber weather seal at the bottom of the door is a UV victim. In Fontana, a bottom seal that would last three years in a coastal climate will often show cracking and hardening within 18 to 24 months. Check the seal every spring when temperatures start climbing, and replace it when you see cracks or when light passes through. A failed bottom seal doesn’t just let in dust and heat; it lets in insects, including the scorpions and black widows that find their way into Fontana garages.
Lubrication intervals: Every six months is the correct interval in Fontana, not the annual schedule manufacturers print. The dry heat evaporates lighter lubricants, and the fine dust from the Santa Ana winds works its way into everything. If you go a full year between lubrications in Fontana, the rollers are running dry for the last several months of that interval.
Spring life expectancy: Torsion springs are rated in cycles, and the standard spring is rated for 10,000 cycles, which translates to roughly seven to ten years of normal use. In Fontana’s thermal environment, expect the low end of that range. A spring that’s seven years old and starting to show rust is approaching replacement time, even if it passes the balance test today.
Documenting Your Maintenance – The Paper Trail
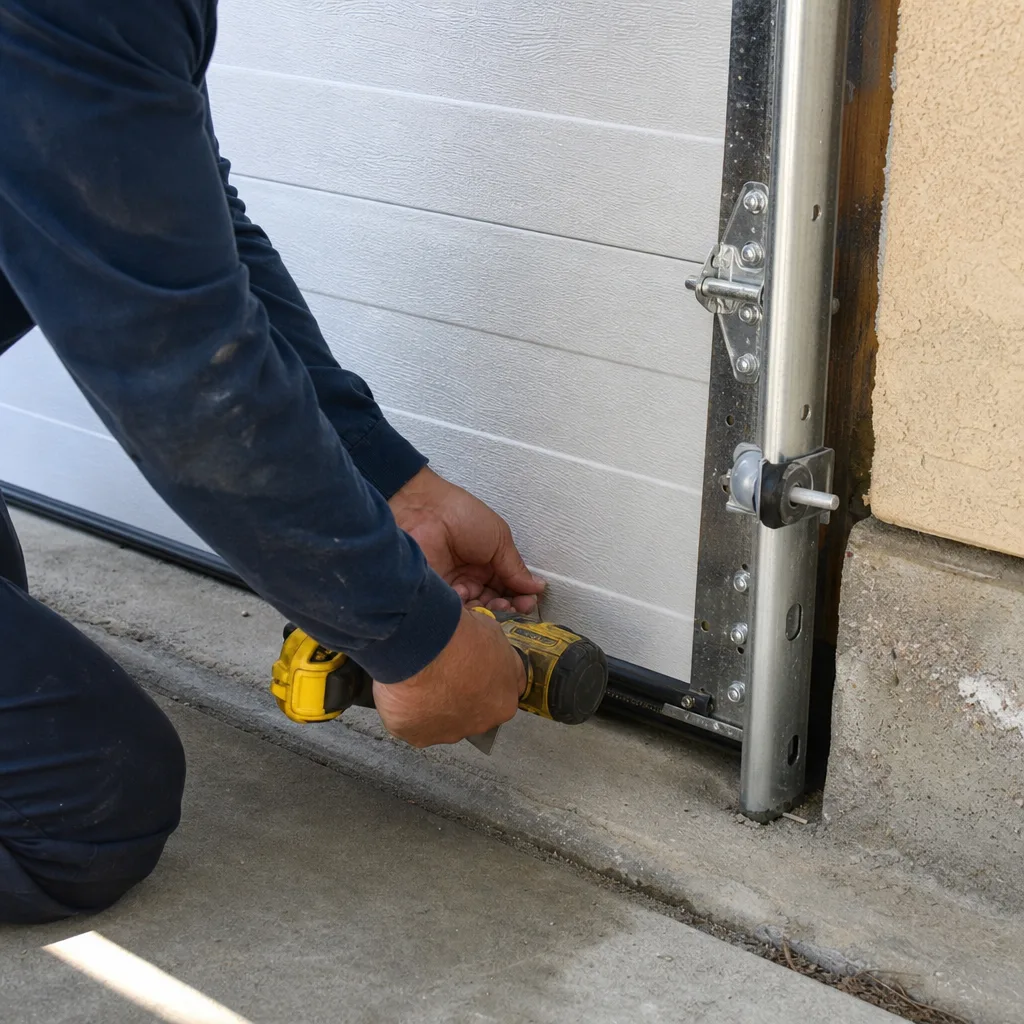
A maintenance log does two things. It gives you a record of what was done and when, which matters if a warranty claim or a repair diagnosis comes up later. And it gives a technician factual history instead of your recollection. A log that says “lubricated rollers and springs, March 2025” tells us more in three lines than a conversation about what you think you remember doing.
Here’s a log format that works:
- Date: The date the maintenance was performed.
- Balance test result: Pass or fail. If fail, note the direction and distance the door drifted.
- Force limit test result: Pass or fail. Note whether the opener reversed on contact with the 2×4.
- Visual findings: Anything unusual: cracked seal, loose bolt, frayed cable, rust on the spring.
- Lubrication performed: Which components were lubricated and with what product.
- Parts replaced: Any components that were replaced, with brand and part number if available.
- Next service date: Six months out for lubrication, one year for a full inspection.
Keep this log in the garage or in a notes app. When a technician arrives, hand them the log. A technician who sees a documented maintenance history knows they’re working on a door that has been cared for, and they can dial in their diagnosis faster. It also protects you: if a repair is needed, you have a record of what was done and when, which is the same principle behind the photo documentation we provide on every service visit at Servo Garage Doors Fontana home. Clause 4 of The Haven Standard exists because we believe you should see the evidence before you pay for anything.
Common Mistakes to Avoid
- Lubricating before testing balance. This is the error that inspired this entire guide. Lubricant changes the friction characteristics of the door, which means your balance test reads smoother than the door’s true condition. Test first, lubricate last.
- Using WD-40 as a lubricant. WD-40 is a penetrant and water displacer, not a lubricant. It strips existing lubrication and leaves metal surfaces dry. The correct product is silicone spray for most components and white lithium grease for the opener rail.
- Lubricating the tracks. Tracks should stay dry. Adding lubricant to the track attracts dust and creates a grinding paste that damages rollers. If someone ever told you to lubricate the track, they gave you bad advice.
- Reversing the door without checking the emergency release. If the emergency release handle is pulled while the door is under tension from a broken spring, the door can drop. Always disengage the release with the door fully closed and after you’ve visually confirmed the springs are intact.
- Ignoring a drifting door. A door that drifts down on the balance test is telling you the spring is losing tension. Ignoring it means the opener works harder, burns out sooner, and eventually the spring fails. A spring replacement is a cheap repair compared to a new opener or a dropped door.
- Treating the force limit test as adjustable but not diagnostic. Crank the force limit down to make the door reverse, and you’ve addressed a safety symptom without fixing the cause. The door will eventually fail to close as the balance worsens.
- Assuming manufacturer intervals apply in Fontana. Inland heat and UV are harder on rubber and lubricants than manufacturer schedules assume. Check the bottom seal every spring and lubricate every six months, not once a year.
When to Call a Professional
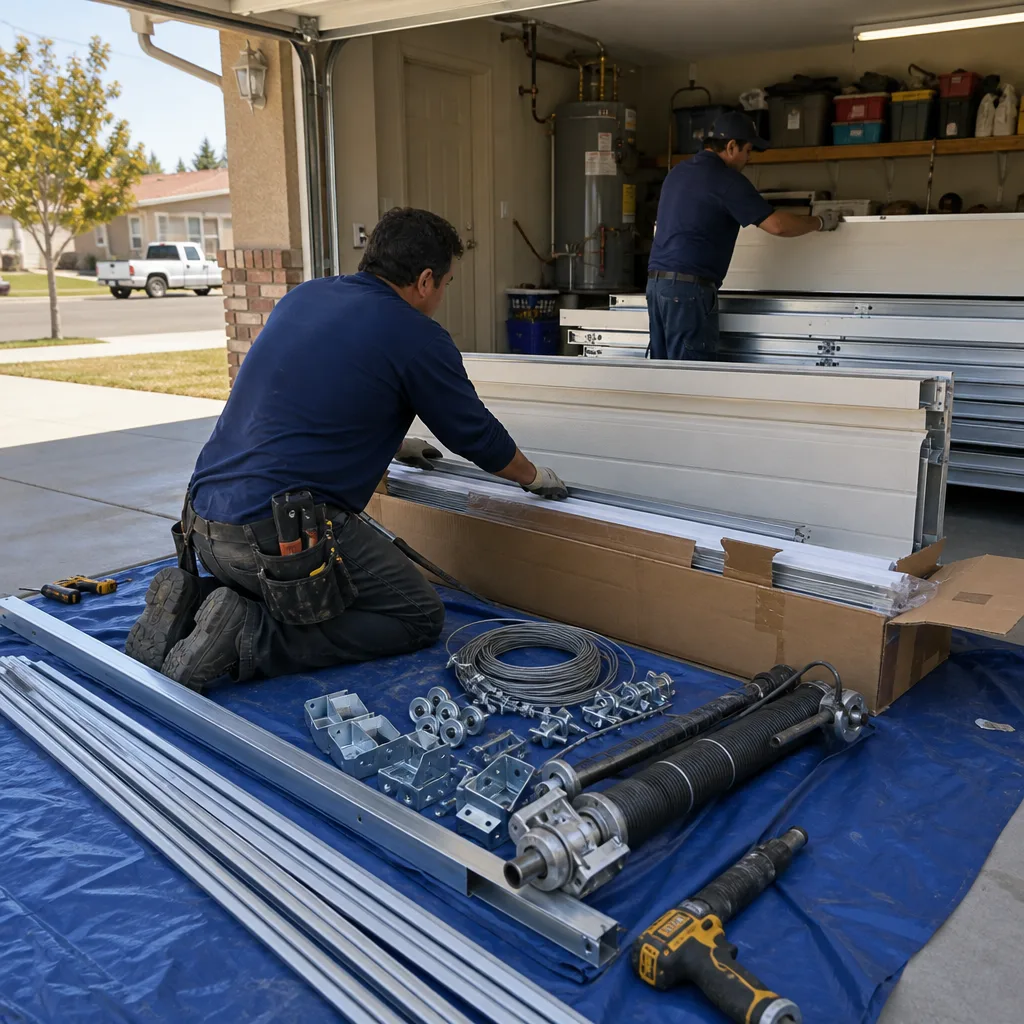
Some maintenance findings end the DIY portion of the checklist. A broken torsion spring, a frayed cable, a bent track, or a bottom bracket showing cracks are all stop-work conditions. The torsion spring carries enough tension to cause serious injury if it releases while you’re working near it, and a cable under load can whip through the air. A technician who works on garage doors every day knows how to release that tension safely and check the entire system before declaring it repaired. If your balance test fails, if the door has visible cable damage, or if you’re unsure about anything in this guide, call a professional. Servo Garage Doors Fontana offers free estimates in Fontana, and every estimate includes a written price and written scope before any work begins. Call (951) 307-0747 to schedule.
Frequently Asked Questions
Every six months, not the annual interval most manufacturers print. Fontana’s dry, hot climate evaporates lubricants faster than coastal or temperate environments, and the Santa Ana dust works its way into moving parts. Use silicone spray on rollers, hinges, and springs, and white lithium grease on the opener rail. If you hear a squeal between service intervals, lubricate sooner and check the rollers for wear. Call (951) 307-0747 if the squeal persists after lubrication, because that indicates a failed bearing rather than a dry one.
A proper tune-up includes the full five-step sequence from this guide: visual inspection, balance test, force limit test, hardware torque check, and lubrication. Most professional tune-ups in Fontana also include track alignment verification, photo documentation of findings, and a written report. At Servo Garage Doors, a tune-up ends with a documented photo record of what was found and what was done, per Clause 4 of The Haven Standard. For current pricing, call (951) 307-0747.
Torsion spring replacement in Fontana typically runs $180 to $340, including the spring and labor. Extension spring systems tend to cost less, typically $150 to $250. The price depends on the spring wire gauge, the door weight, and whether one or both springs need replacement. Always request a written price before work begins; at Servo Garage Doors Fontana, that’s Clause 1 of The Haven Standard, not a courtesy. Call (951) 307-0747 for an exact quote on your door.
No, not safely. Torsion springs carry hundreds of pounds of stored tension, and the winding bars used to adjust them can slip and cause serious injury or death. Extension springs can also release violently if a cable breaks while you’re working on it. This is the one garage door repair that should always go to a trained professional with the right equipment. In Fontana, we replace torsion springs on most service calls within an hour, with a written price agreed before the work begins.
A door that reverses unexpectedly is usually experiencing one of three conditions: the force limit is set too low, the photo eye sensors are misaligned or blocked, or the door balance has degraded and the opener is struggling. Start by cleaning and aligning the photo eye sensors, then run the force limit test from this guide. If the problem persists, the door balance is the likely culprit, and a spring inspection is the next step. Call (951) 307-0747 for a diagnosis with a written price before any repair work begins.
We service all the major brands, including LiftMaster, Chamberlain, Genie, Clopay, Amarr, Wayne Dalton, Craftsman, and Raynor. The service procedure is the same regardless of brand: diagnose the problem, show you the evidence with photo documentation, and provide a written price before any work begins. If you have a Craftsman opener from the 2000s or a newer LiftMaster unit, we carry parts for both. Call (951) 307-0747 and ask for a free estimate.
The Bottom Line
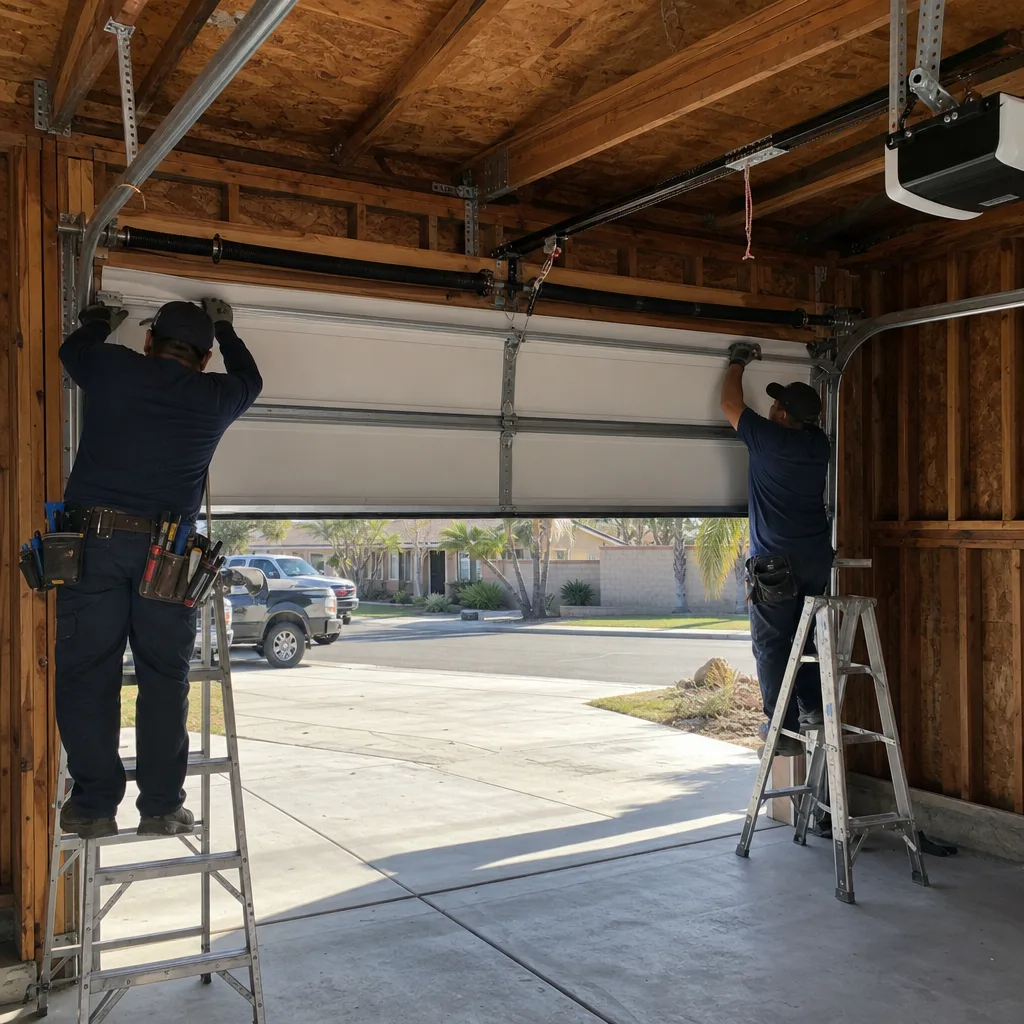
A garage door maintenance checklist only works if it’s sequenced correctly. Visual inspection catches failing parts before they break. The balance test identifies spring tension problems before they burn out your opener. The force limit test keeps the door from injuring someone. Hardware torque keeps the tracks aligned and the door safe to operate. Lubrication extends the life of the moving parts, but only when it’s done after the diagnostic steps and with the correct products. In Fontana, run this sequence every six months, document the results, and call a professional the moment something fails a test or looks unsafe.
Need a professional inspection in Fontana? Call Servo Garage Doors at (951) 307-0747. We’ll provide a free estimate with a written price before any work begins, and you’ll receive a documented photo record of everything we find and everything we do. That’s the standard we’ve worked to since 2015.
Written by Marcus Deller, Owner at Servo Garage Doors Fontana, serving Fontana since 2015.